The UK'S Leading Distributor of
Wall
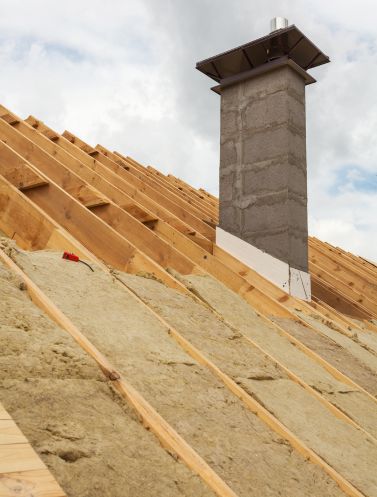
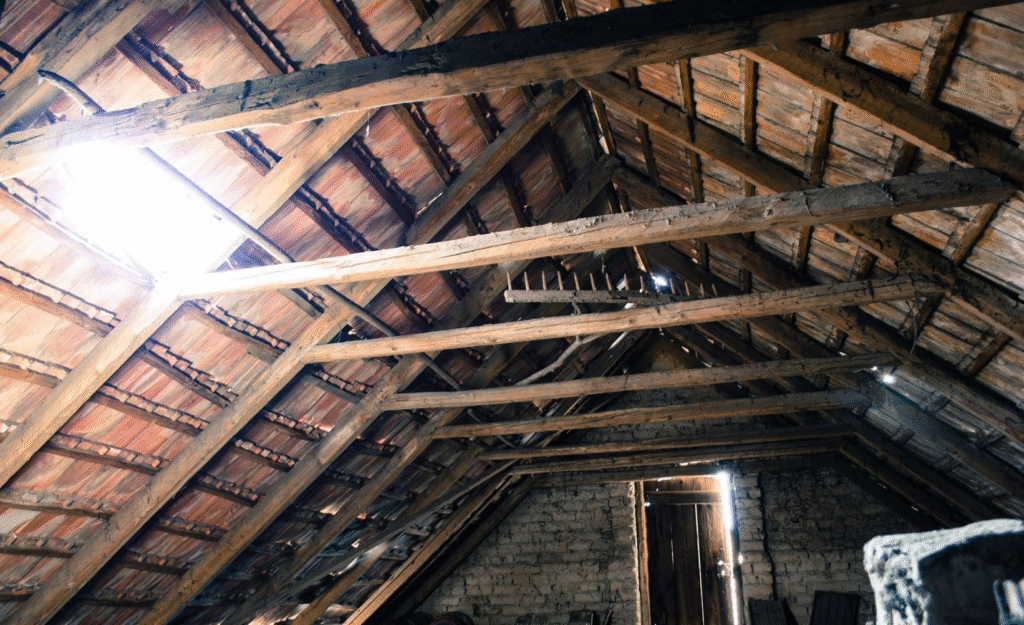
Roof
Floor
Loft Insulation
U Value Insulation delivers high-quality insulation and building materials for commercial and domestic projects. From thermal and acoustic solutions to airtight membranes and external wall systems, we provide expert advice and nationwide delivery to meet your project needs.
With four decades of experience, we deliver trusted solutions and expert advice for all insulation and building material needs.
Serving The UK & Ireland
With five locations, we proudly serve customers across the UK and Ireland, offering local expertise and nationwide delivery.
The Biggest Brands
We partner with the biggest and most trusted brands to bring you the highest-grade materials and shorter lead times.
Tailored Insulation Solutions For Your Project
U Value Insulation is a globally renowned company with over 40 years of experience, dedicated to providing the building industry with an unparalleled selection of products and expert technical knowledge. Our extensive catalogue covers all floor, wall, and roof requirements, making us your one-stop shop for all building needs.
At U Value, quality is our priority. We offer top brands and the highest quality products at competitive prices across thermal, acoustic, and fire protection insulation. Choose U Value for exceptional products, unmatched expertise, and a level of service that makes a difference in every project. The longevity that we are in business and our relationships with our partners guarantees you access to the best products and solutions, at the best prices.
We work with the biggest and most reliable names in the industry to bring you top-quality insulation and building materials. Our partnerships guarantee access to the best products, cutting-edge solutions, and exceptional performance for all your projects.
Locations across The UK & Ireland
0
Products Sold
0+
Satisfaction Guaranteed
0%
Years Of Experience
0+
Wall Insulation
Wall Insulation Products
Did you know that up to 30% of all heat lost in a building escapes through the walls if not properly insulated?
U Value Insulation is an established international company, with over 40 year’s experience offering the building industry vast product choice combined with in-depth technical expertise. Distributing an extensive product catalogue for application across the full range of floor, wall and roof requirements, ensuring a one-stop shop for all our client needs. We stock the very best brands & highest quality product ranges at competitive prices across thermal, acoustic and fire protection insulation products guaranteeing the widest choice and best value. We’ve got branches in Dublin, London, Manchester & Birmingham. Get in touch with our team today.
Have questions or need assistance with your project? Our team is here to help with tailored advice and reliable support. Contact us today to discuss your needs and benefit from our nationwide delivery service.